Getting started
Here is a quick guide to get you started with the HRM/HuCore deconvolution. In order to optimize results, please refer to section Advanced deconvolution in HRM.
Create an account in HRM
- If your imaging facility already offers deconvolution via HRM, proceed to the facility’s HRM login page.
- If HRM is not available at your imaging facility you can still familiarize with HRM by using the HRM demo server offered by SVI.
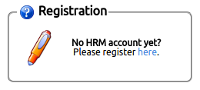
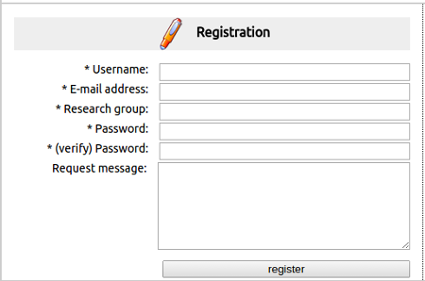
Follow the registration link on the HRM login page and complete the short form. Notice that names are case sensitive. Upon registration the new HRM account needs to be validated by the administrator.
Upload a raw image
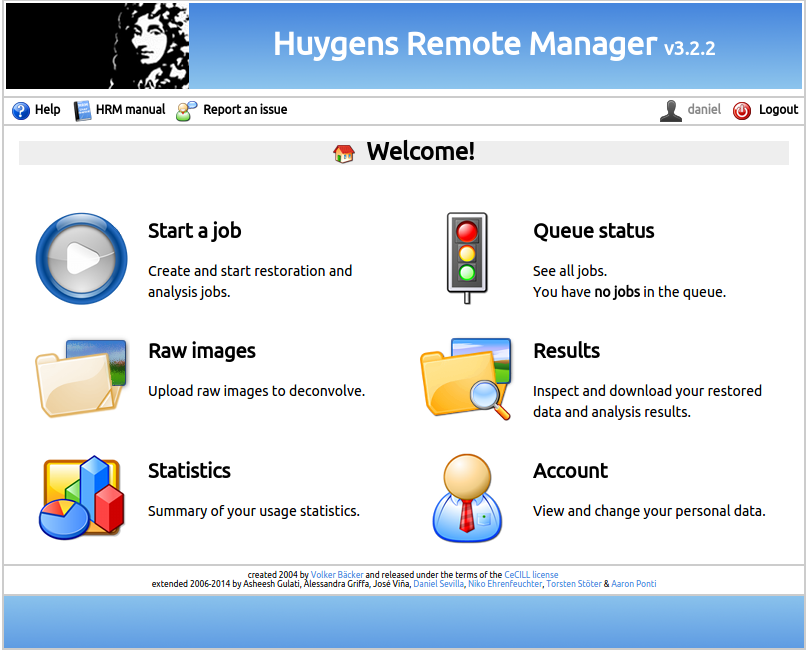
Upon successful logon the HRM Home panel will be displayed:
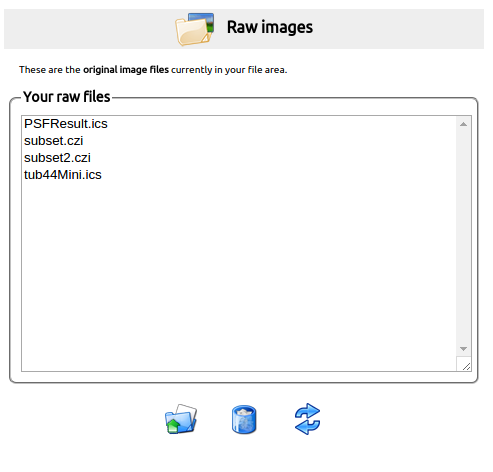
To upload images click on the Raw images icon  . The
following, intuitive upload tool allows for multiple uploads from your local
device:
. The
following, intuitive upload tool allows for multiple uploads from your local
device:
Deconvolve
To submit a deconvolution job proceed to Start a job  from
the home panel. The process of submitting the job is split into the following
5 steps:
from
the home panel. The process of submitting the job is split into the following
5 steps:
 Step 1/5 - Select images: click on the “Image File
Format” drop
down widget to select the desired file type for the images that you wish to
deconvolve. All files of that format in your “Raw Images” folder will be
listed. Use the
Step 1/5 - Select images: click on the “Image File
Format” drop
down widget to select the desired file type for the images that you wish to
deconvolve. All files of that format in your “Raw Images” folder will be
listed. Use the 
 icons to discard/include
images from/into the selection. When selecting a file, a preview can be
requested by using the link
icons to discard/include
images from/into the selection. When selecting a file, a preview can be
requested by using the link  on the right hand side
panel. The image preview also provides information about the dimensions,
sampling and number of channels.
on the right hand side
panel. The image preview also provides information about the dimensions,
sampling and number of channels. Step 2/5 - Image parameters: An image parameter
template
matching the imaging conditions of the microscope can be created at this
stage. Alternatively, an existing template can be selected from a
previous run. Also, other HRM users (including the administrator) may have
shared templates with you. Notice that choosing the correct parameters
is absolutely crucial for obtaining high-quality deconvolution results.
Step 2/5 - Image parameters: An image parameter
template
matching the imaging conditions of the microscope can be created at this
stage. Alternatively, an existing template can be selected from a
previous run. Also, other HRM users (including the administrator) may have
shared templates with you. Notice that choosing the correct parameters
is absolutely crucial for obtaining high-quality deconvolution results.Use existing parameter template (easy): When selecting an existing parameter template the parameter contents are displayed on the right hand side panel. Make sure that the microscope type and the number of channels of the selected template match those of the images to deconvolve.
Create a new parameter template (elaborated): Type a name for the new parameter template in the New/clone image template name field, then click the create button
 . The template editor opens, select
the correct
number of channels and PSF type. Move on to the optical parameters and
select the correct microscope type. For a detailed explanation on the
remaining parameters please refer to section Advanced deconvolution in HRM.
. The template editor opens, select
the correct
number of channels and PSF type. Move on to the optical parameters and
select the correct microscope type. For a detailed explanation on the
remaining parameters please refer to section Advanced deconvolution in HRM. Step 3/5 - Restoration parameters:
As in the previous step it’s possible to choose between an existing template
or creating a new one.
Step 3/5 - Restoration parameters:
As in the previous step it’s possible to choose between an existing template
or creating a new one.Use existing parameter template (easy): Select a parameter template and verify its contents on the preview shown on the right hand side panel. Particularly, pay attention to the value of the Signal to Noise ratio (SNR) (see Signal to Noise ratio for further help).
Create a new parameter template (elaborated): Follow the instructions of the previoius step to create a new template. Once in the template editor select a deconvolution algorithm (CMLE is a good choice) and an SNR. Follow the instructions of the embedded SNR estimator for a hint on the SNR of your images. Set the background mode to automatic, the number of iterations to 40 and the quality change to 0.01. For more detailed fine-tuning follow the instructions at Advanced deconvolution in HRM.
 Step 4/5 - Analysis parameters: This step is
active only when 2 or more channels have been specified in the previous
steps. When active, the Analysis step allows the user to execute
Colocalization analysis on the deconvolved images.
Step 4/5 - Analysis parameters: This step is
active only when 2 or more channels have been specified in the previous
steps. When active, the Analysis step allows the user to execute
Colocalization analysis on the deconvolved images.Use existing parameter template (easy): Select the analysis parameter template of your choice and verify that the values displayed on the preview on the right hand side panel match your analysis needs.
Create a new parameter template (elaborated): Create a new template by following the instructions given in Step 2. Select whether colocalization should be enabled. For a colocalization run select the channels that should be inspected and the colocalization coefficients to be reported. Set the threshold to “Automatic estimation” and the Colocalization map to “Pearson”. In order to further fine-tune the Colocalization parameters please refer to Advanced deconvolution in HRM.
 Step 5/5 - Launch job: Select the output file format
for the restored images. ICS and HDF5 are the recommended formats because
they provide good dynamic range and the necessary metadata infrastructure to
save all the image parameters. Plus, they allow for good compression levels
that minimize the amount of disk space needed for storage. Next, review the
parameter summaries as well as the image selection. If all the settings are
correct then proceed to submit the job to the server by clicking
Step 5/5 - Launch job: Select the output file format
for the restored images. ICS and HDF5 are the recommended formats because
they provide good dynamic range and the necessary metadata infrastructure to
save all the image parameters. Plus, they allow for good compression levels
that minimize the amount of disk space needed for storage. Next, review the
parameter summaries as well as the image selection. If all the settings are
correct then proceed to submit the job to the server by clicking
 .
.
Queue
After submitting the job HRM returns to the Home panel from where you can
access the queue by clicking  . A typical processing queue
looks like the following:
. A typical processing queue
looks like the following:
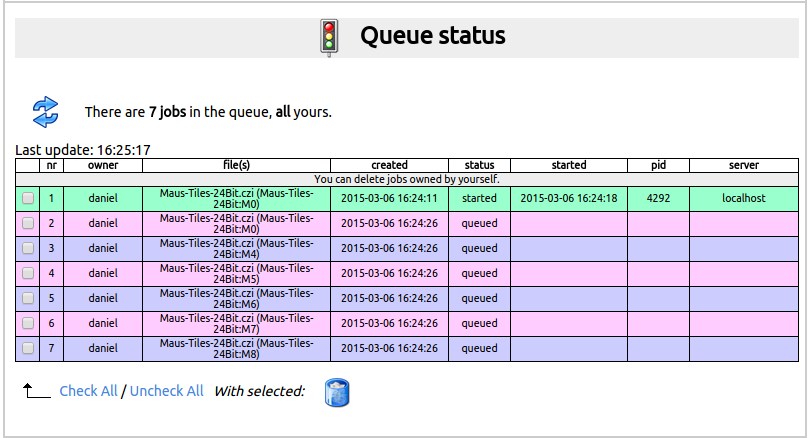
where you view how much work from you and other HRM users has been submitted to the processing server. This queue is handled in an intelligent way, allowing jobs from different users to be processed at different times.
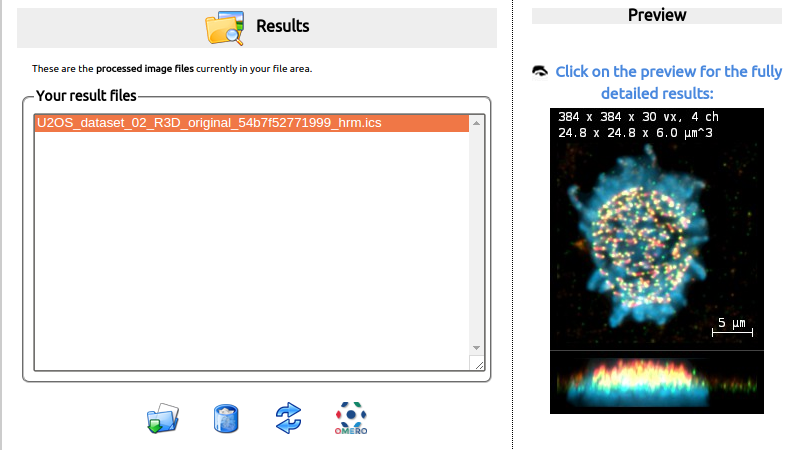
Results
When a deconvolution and analysis job is finished you will receive a
notification email about your results being available. In order to view the
deconvolved images go to the HRM home panel and click on the Results icon
 . The contents of the Results folder will be listed. Select the
image that you would like to visualize and a preview will be displayed on the
right hand side panel, like this:
. The contents of the Results folder will be listed. Select the
image that you would like to visualize and a preview will be displayed on the
right hand side panel, like this:
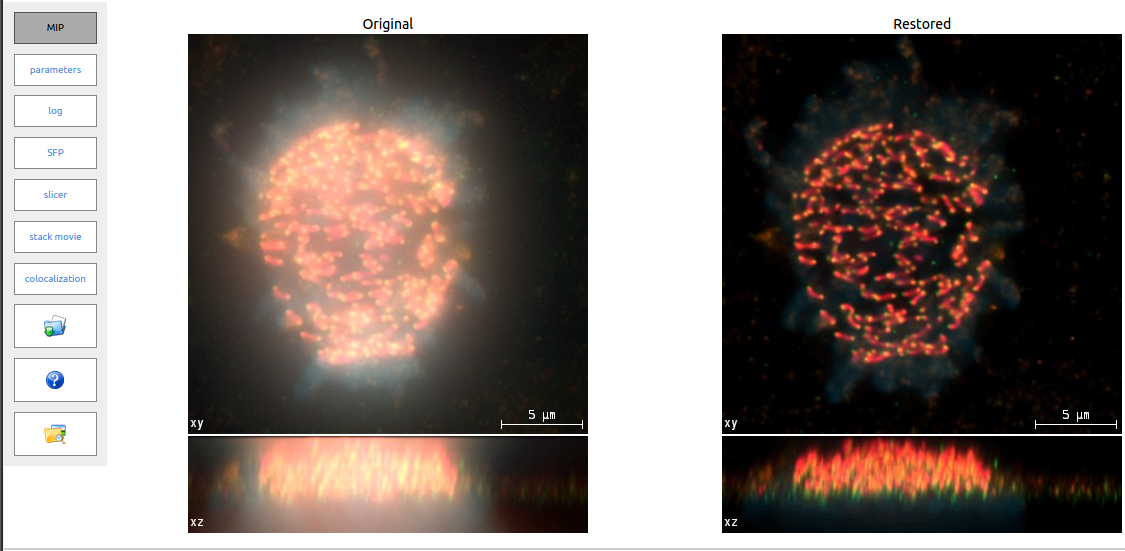
For a detailed view of both the raw image and the restored image click on
 .
.
A results page will open showing MIP, SFP and slicer comparisons of the raw image versus the deconvolved image. Summary tables will show information about possible scaling factors, colocalization results as well as deconvolution and image parameters. Also, movies along the Z direction and/or through time will be available for download.
Tips & Tricks
- When a deconvolution run gives excellent results download the processed
data from the detailed view by clicking on
 .
. - If you are satisfied with any of the templates that you have created do
share them with your colleagues by clicking on
 in steps
2, 3 or 4.
in steps
2, 3 or 4. - To optimize your deconvolution results it is necessary to understand the different properties of your image and some of the mechanisms behind deconvolution. If you’ve followed this guide, many properties have been assigned default values. We would like to encourage the users to read into and explore different settings, which will help you improve your deconvolution results. Some more in-depth knowledge is given in section section Advanced deconvolution in HRM.